
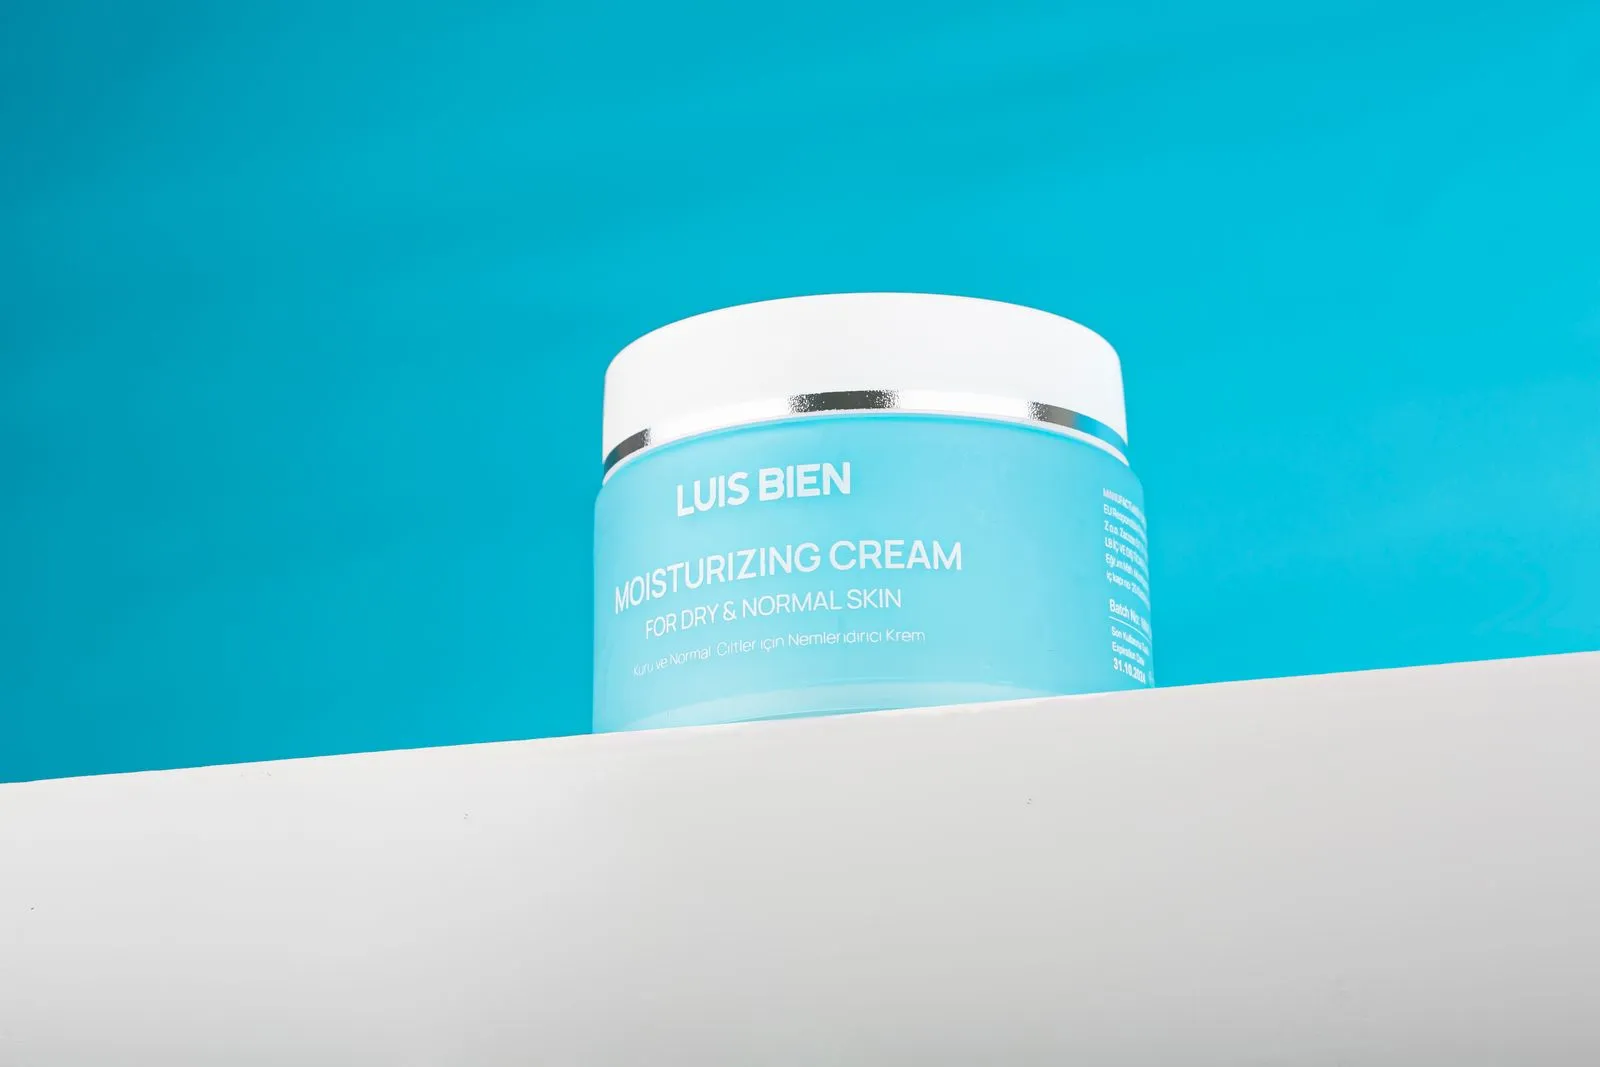
A polished cosmetics photo starts before the camera comes out. Clean packaging, consistent product samples, and accurate shade information help prevent avoidable delays and make the final images more useful for your customers. A little preparation also gives your photographer time to plan around reflective surfaces, small labels, and products that need special handling. Use this checklist to get your items and reference materials ready, then confirm any unusual requirements before sending or bringing products to the studio.
Clean Packaging Carefully
Wipe containers with a clean, lint-free cloth before packing them. Remove fingerprints, dust, dried product, and adhesive residue, paying attention to caps, pumps, glass edges, and the area around labels. Use a cleaning method that is safe for the material; harsh cleaners can dull finishes, damage printed text, or leave streaks. Let each item dry fully so moisture does not transfer to other products.
Check packaging under bright, direct light, where smudges and scratches are easier to spot. Avoid polishing glossy plastic or metallic finishes with rough cloths, which can create fine marks that show up in close-up images. If an item has a protective film, ask the photographer whether to leave it on or remove it. Films can prevent handling marks but may also cause glare, wrinkles, or visible edges.
Check Product Condition
Choose samples that look fresh, complete, and representative of what customers will receive. Check seals, caps, applicators, cartons, and labels for damage or wear. For jars or palettes that will be photographed open, make sure the surface is clean and undisturbed. Remove stray fibers or fingerprints from applicators, and confirm that pumps and droppers work if the shoot includes product-in-use images.
Pack extra units when possible, especially for products that may be opened, swatched, poured, or arranged in a styled scene. Keep backups in their original packaging and separate them from display samples. If a product has a short shelf life, unusual storage needs, or a texture that changes with temperature, tell the photographer in advance and provide handling instructions.
Confirm Shade and Label Details
Create a clear list of every product, shade, and variation included in the shoot. Use the exact names and spelling shown on the packaging, and note distinctions that are easy to confuse, such as similar lipstick colors or foundation undertones. Include product codes when available. This inventory helps the photographer keep items organized and gives you a reference when reviewing image files.
Share guidance on how colors should appear, including any approved reference images or brand color standards you already use. Mention that screens and lighting can affect how a shade looks, so color review may need to follow your normal approval process. If the shoot includes swatches, specify which shades to show and whether you want clean, blended, or layered application.
Send Materials Before Shoot Day
Send the product list, shot priorities, and visual references early enough for the photographer to plan. Include your logo files, packaging artwork if relevant, brand guidelines, and examples of images that match the direction you want. Note required crops, image orientation, background preferences, and where the photos will appear, such as product pages, social media, or printed materials.
Confirm how products will arrive and when they should be delivered or brought to the studio. Add a packing list and identify any fragile, temperature-sensitive, or upright-only items. Share a contact person who can answer questions during preparation, along with any deadlines or approval steps. Coastline Product Photo can use these details to plan a smoother cosmetics product photoshoot in Santa Barbara.
Clean samples, accurate shade notes, and clear references give your photographer a stronger starting point and reduce last-minute questions. Before packing, compare every item with your inventory and confirm delivery details. If you have a shoot coming up, contact Coastline Product Photo to discuss your products and preparation checklist.